|
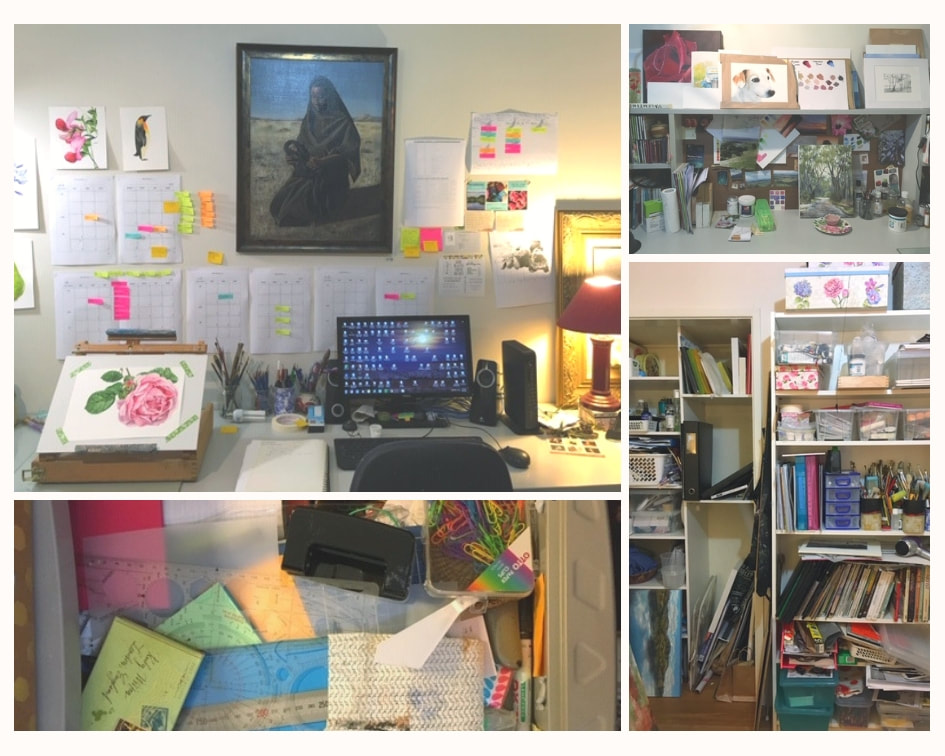
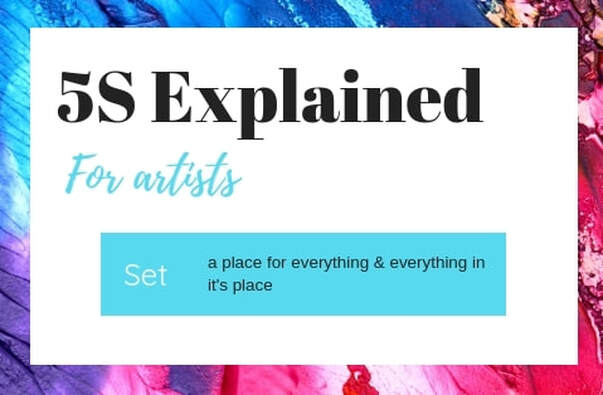
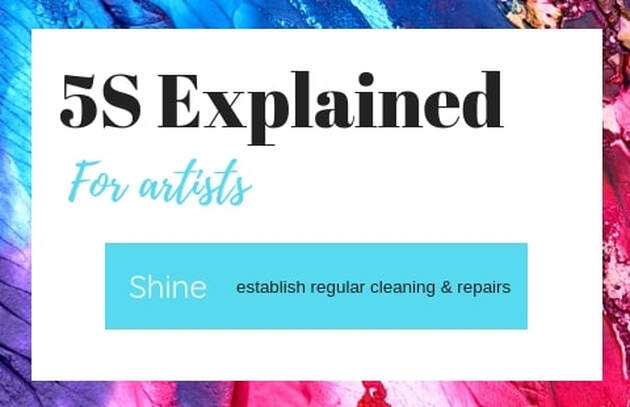
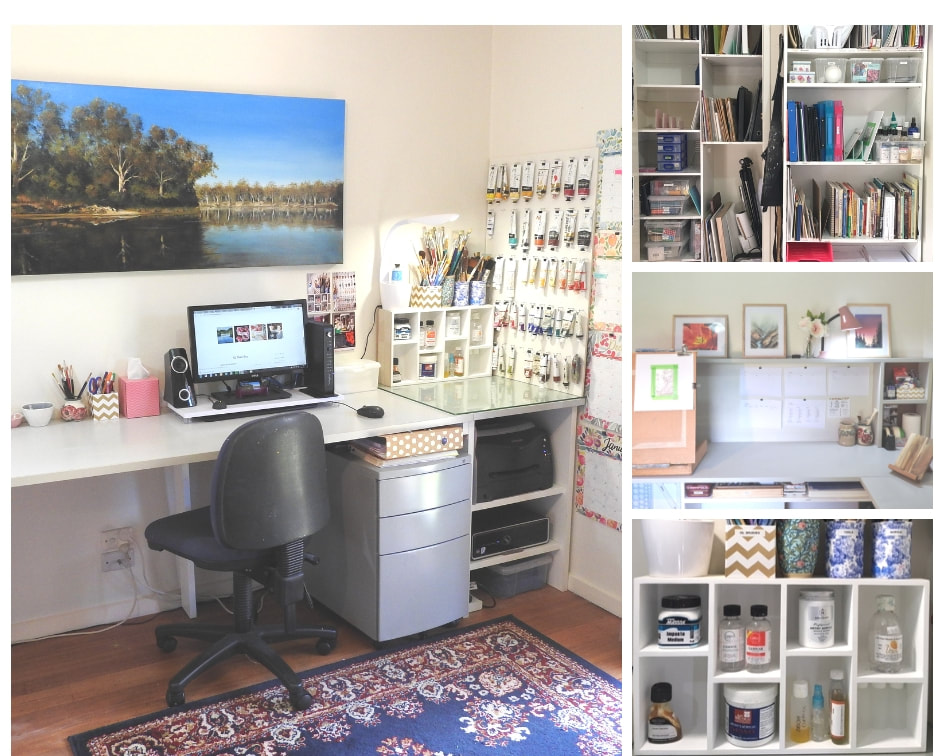
by Fiona Valentine Art organization is a brilliant idea. Artists have a reputation for being messy and it’s true, creativity can involve mess but that doesn't mean organization isn't an important aspect of a successful artist's studio. In this post, I'll share how organizing my art studio and art supplies saved me time, money and frustration. It has definitely made my studio a happier place. I have a simple 5 step plan that helped me through the process to a great result. Art Organization & Lean SpecialistsNow, I have to confess, I have an unfair advantage. I’m married to a lean specialist. A lean specialist is trained to identify waste and remove it. My American specialist started young as a football quarterback, rock climber and eagle scout. He went on to work in emergency rooms and intensive care. Waste doesn’t stand a chance with this guy. He came to Australia and married an artist. Clearly, opposites attract. I'm thankful to have not only my own specialist, but a dedicated art studio at home. Being a creative, my work can get messy and it's nice to be able to shut the door and leave a work in progress in, well... progress. But my studio is small and I was getting frustrated because I was running out of room and COULDN'T FIND THINGS. When I saw a video about how much money lean systems were saving businesses, this one-woman-enterprise paid attention. If those businesses are saving that much time and money by getting organized, how much time and money was it costing me to hunt for art supplies, tubes of paint and lost tools, I wondered. Mike showed me a system called 5S that changed my studio life. Here are my embarrassing "before" pictures of my studio makeover. If productivity, creative mental space and uninterrupted painting appeal to you, read on, friend and I'll share how I gained a happier, more productive studio with a place for everything and everything in it's place. And of course, "after" photos! Art Organization: What is 5S?So,what is 5S? 5S is a Lean methodology - 5 steps towards efficiency. Statistics on how much money companies save by implementing 5S are astonishing. In case you are keen to get started, let me explain each of the steps and how we went about it. Art Organization Step 1: SORTStep 1 SORT: take everything out of your studio that isn't essential to your process. This step was much easier once I learned about White Tag areas. Everything nonessential gets removed and taken to your White Tag Area. (In my case, the nearby laundry.) Any decision about what happens to these things is made later. This took so much pressure off making a decision about each piece and meant I could just dive in and get everything non essential out of the studio. As a separate task, I later sorted what needed throwing out or giving away and what I might need to keep. Possible keeper items went in my White Tag Storage area with a date (my items were smallish so went in a tub in the shed). In a year, if you still haven't used them... it's time to get rid of them. I can't tell you how helpful it was to keep this task separate and do it later. It mustn't stop you from getting on with the process. Art Organization Step 2: SETStep 2 is SET: a place for everything and everything in it's place. I thought a lot about how to make the studio work for watercolour, oil, acrylic AND drawing without having to move everything as I worked from project to project. My patient lean specialist and I stood (wine glasses in hand) late one Saturday night and discussed options. With a plan in place and my shiny new label maker (did I mention I love this label maker?) I created an insane amount of labels and found a place that worked for EVERYTHING. With my SORT step already done, there was plenty of room available. In fact, I couldn't believe how much room in my not-so-big-studio with all of the nonessential things gone! The specialist looked a little smug but resisted saying “I told you so”. I whad been sure I’d have to move to a bigger space. He had assured me I wouldn’t. He was right. It was astonishing. I mean, the space I gained was astonishing, not that he was right. That happens more than I like to admit. Art Organization Step 3: SHINEStep 3 is SHINE - establish regular cleaning and repairs. Getting everything sparkling was a breeze with only essential things in their proper place. By now, I was having fun. It's easy to see what needs fixing or replacing, so that everything is ready to use. I love that this space copes with being able to make a mess because, let's face it, art making is messy. Having the studio sorted means I can reach for tools that are exactly where they are supposed to be and tidy up the mess super quick ready for a new day.
|
Hi, I'm Fiona. I'm an artist and art coach. I help aspiring artists learn to paint for fun AND for profit even if they've never sold any of their work before.
You have more than enough creativity and talent, what you need are skills - both for making art and the art of selling art. I can help! Archives
January 2022
Categories
All
|



 RSS Feed